Wallpaper Tutorial: HDR Grunge effect.
Selasa, 09 Juli 2013
0
komentar
Part One: Getting the Image
The first part is finding an image, you might think this is the easiest part but sometimes finding the right image is the most time consuming part of the entire process. When looking for an image you can't just settle for anything it needs to be high resolution. It just happens I know a neat little trick for getting awesome images from nfl.com.
I use Chrome, but Firefox with the firebug extension will work.
Right click the image an then click "inspect element" on the the right hand side it show image background and the link looks similar to below. Copy and past it into a new tab.
http://static.nfl.com/static/content/public/image/getty/2011/09000d5d822899c4_gallery_600.jpg
It will give you an image but it doesn't give you the quality image you want, to get the full resolution of the image remove _gallery_600
http://static.nfl.com/static/content/public/image/getty/2011/09000d5d822899c4.jpg
Save the image.
Part Two: HDR Effect
Before CS6 I had to use 3 separate plugin to generate this effect but with cs6 I don't need any 3rd party plugins.
Open the image in photoshop.
Click image - adjustments - HDR Toning.
The key here is to just play around until you like it. every image is different so there are no set levels.
Here is what I did.

Create a new document for you wallpaper. I generally start with 1920x1200 because it's one on the larger desktop sizes and it's easier to scale down than up for requests.
Copy and paste both the new HDR image you just created and the original image into the new document.
Name your layers appropriately I named mine HDR and Original. Personally I think its very important to group and name your layers because sometimes a project can get out of hand or you need to go back and edit something by naming and grouping you can do this far more quickly.

Move and re-size the image to however you think looks good
Part 3: Extract your main image
Duplicate the HDR layer ( Ctrl J )
I have logged many an hour with the pen tool and I believe it is the best tool for extracting an image. If you are a novice I strongly recommend you practice with it. At first it might be a little tricky but that ok you will get it with practice you'll get better and your speed will increase. Stay away from the lasso for detailed cuts, the results will never be as good and it will become a crutch.
Once I have made my selection I feather it (1px) and use the eraser to clean up anything I missed. Than I name and group my new layer.

Part 4: Background
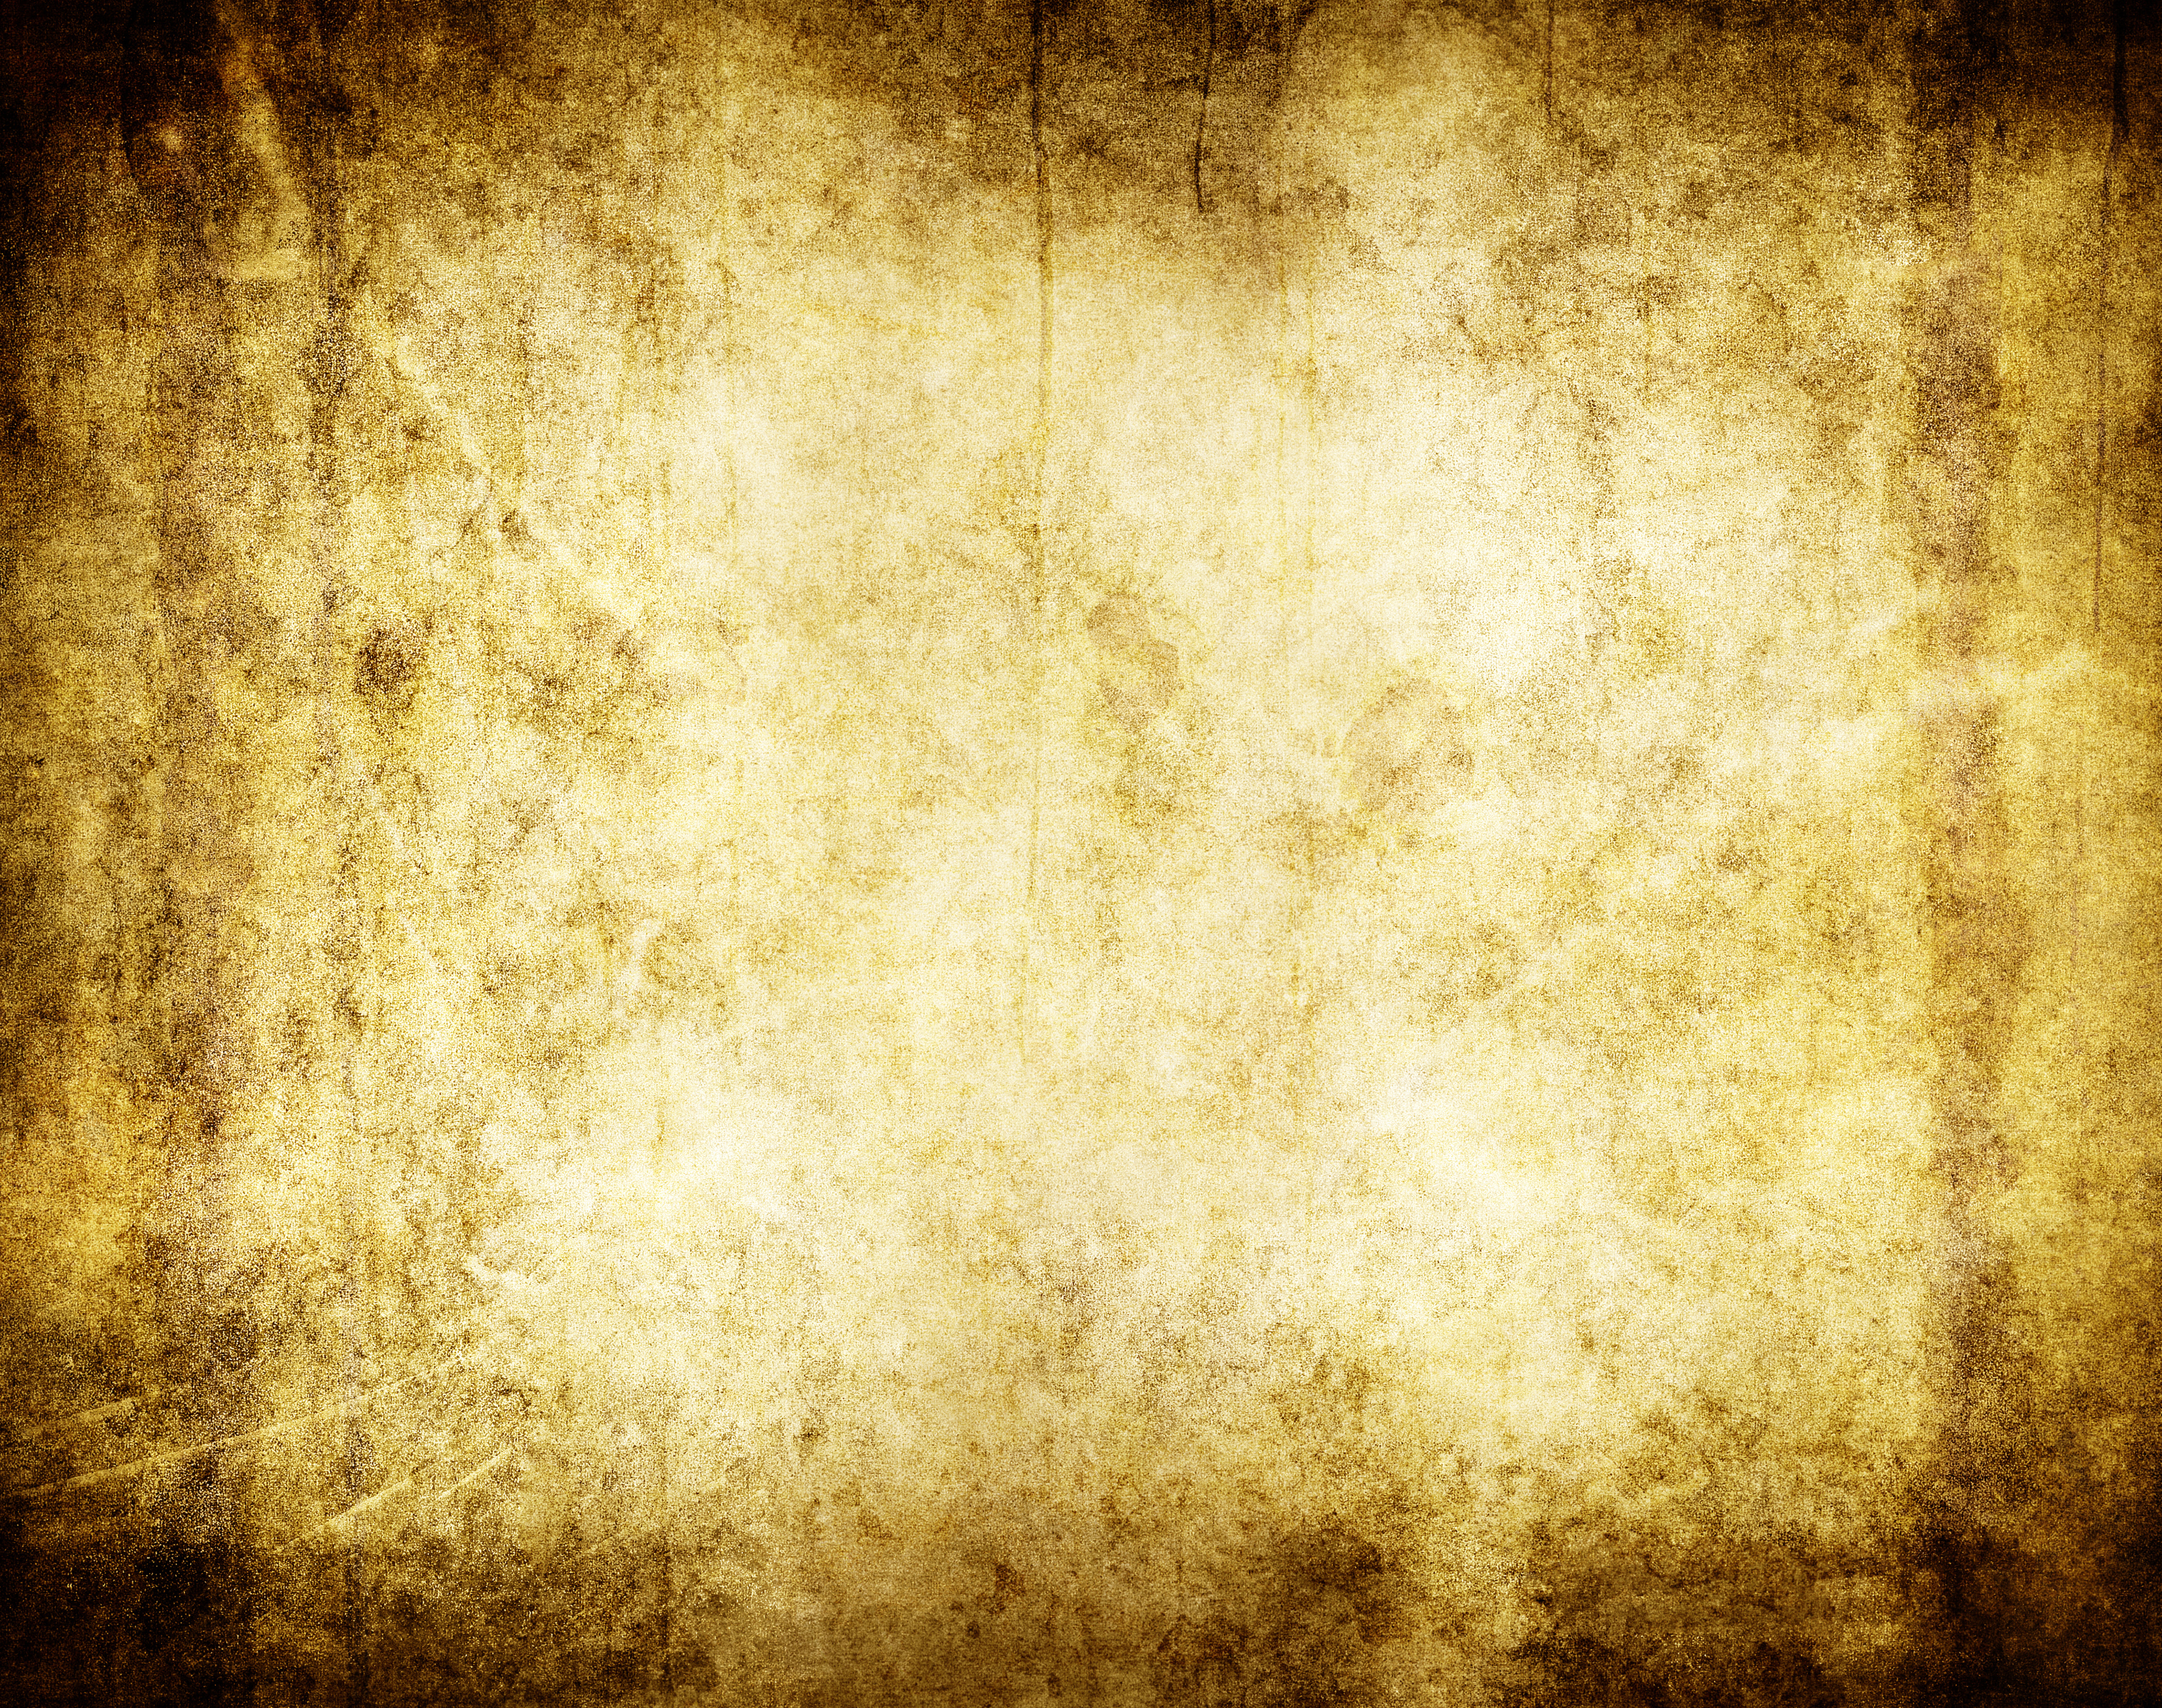
I have tons of textures, I've pulled off random sites. In this case I just googled "grunge background texture" and used search tools to narrow down to an appropriate size.
http://yourwordshere.files.wordpress.com/2012/12/stockvault-grunge-background118895.jpg
After I pasted the background in I immediately desaturate it (CTRL SHIFT U). I do this because I can always change the color later to whatever i want. For this project it might work better any way because I always try and match the color of the team. Which with the Saints happens to be gold and black.

Part 5: Little Stuff
Next I duplicated the full HDR image, desaturated it and changed the layer style soft light.

Then I added an adjustment layer.
Channel Mixer - Click the Monochrome check box. I wanted the gold to stand out so I used the paint brush to make sure the adjustment would not effect that color.

Next I create a layer and painted a brighter gold to really bring it out a bit more. It looked a little weird so I duplicated the hdr cut and added it above the channel mixer and brought the opacity way down to a level where it wan't quite black and white but still pretty desaturated.

I wanted to add a little texture to Brees so I duplicate the grunge layer, placed it at the top changed the layer properties to multiply and played around with what areas I wanted shown using a mask and the gradient tool.
Then I added the New Orleans Logo and a soft light layer option to it.

Below is the finished project.

TERIMA KASIH ATAS KUNJUNGAN SAUDARA
Judul: Wallpaper Tutorial: HDR Grunge effect.
Ditulis oleh csdferwEHRTJR
Rating Blog 5 dari 5
Semoga artikel ini bermanfaat bagi saudara. Jika ingin mengutip, baik itu sebagian atau keseluruhan dari isi artikel ini harap menyertakan link dofollow ke https://wallpaper-emo.blogspot.com/2013/07/wallpaper-tutorial-hdr-grunge-effect.html. Terima kasih sudah singgah membaca artikel ini.Ditulis oleh csdferwEHRTJR
Rating Blog 5 dari 5
Categories:
New Orleans,
NFL,
Saints,
Tutorial,
Wallpaper


0 komentar:
Posting Komentar